Putting it all Together
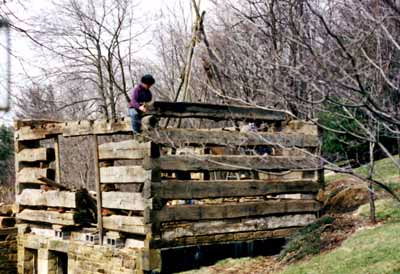
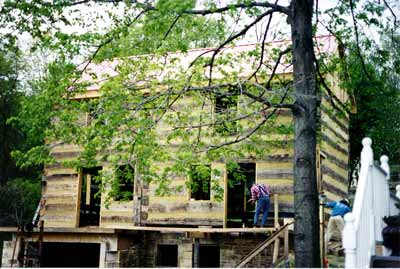
And so we were ready by February, 1998 for our “log guys” to begin assembling the logs. Though this work seemed to move along rather quickly, the outside chinking, or “nogging,“ porch and roof filled up most of the spring.
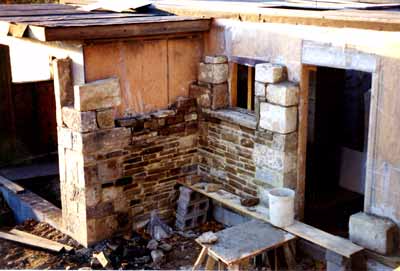
While our crew did its work, Betty and I installed new windows and picked through piles of used boards for flooring. Once the shell was closed in and under roof, the guys began the massive stone chimney, which took several months. I had purchased 40 tons of sandstone which came from a foundation in Ligonier, Pa. and had it hauled here in four loads. As the chimney went up to the second floor, we laid the flooring in the first. I built exterior doors, which were made using interior six panel doors covered with exterior planking. The kitchen door was then cut in half and had a “pie shelf” added to the lower half, making a dutch door. We had a blacksmith make the 24 inch strap hinges and matching pintels, as well as, the iron lift latches. I was able to save the hand hewn door jamb from the 1780 house. It was used for our back door and was originally made for such a short door that I had to add nine inch hewn pieces to the bottom enabling it to fit a normal size door.
The keeping room floor was made from wide planks that were used to build the wall on the addition on the 1826 log house. Some were 18 inches wide and 16 foot long. This old growth pine had its original patina and made a beautiful floor. From the 1780 log house I numbered and removed the original tapered plank, hand planed and beaded pine floor, with its original paint. Some of these planks tapered from 12 inches wide at one end to 9 inches wide at the other and were double-tongued or double-grooved and laid in opposing directions to fit evenly across the bedroom floor.
With the second floor in place and the winder staircase built, my neighbor, Doug, and I installed the wiring which ran nicely in the gaps between the logs. With this job completed, I spent the next nine months putting fiberglass insulation into the chinking spaces, cutting and nailing the wire lath and finally trowelling the buff colored mortar into its final smooth finish.


